Deploying Laratine Template to Fly.io: A Step-by-Step Guide
Introduction
One afternoon, while waiting for my wife to finish shopping, I found myself in a coffee shop contemplating how to streamline my development workflow. My goal was simple: create a template for deploying Laravel applications to Fly.io that would accelerate future product launches.
Why Fly.io? The platform’s simplicity in deployment allows developers to minimize DevOps overhead and focus more on application development. Their straightforward approach to cloud deployment has made it my go-to choice for hosting. You can learn more about their services in their official documentation.
During my exploration, I discovered Laratine—a Laravel template that integrates React through Inertia.js. This combination particularly appealed to me as it leverages React for the frontend, a technology I’m deeply familiar with, while maintaining Laravel’s robust backend capabilities. The result is a perfect stack for rapid application development. This guide documents my process of deploying the Laratine template to Fly.io, transforming what started as a coffee shop experiment into a reusable deployment workflow.

Prerequisites
- Fly CLI installed and configured
- Git installed
- Basic knowledge of Laravel and React
- Familiarity with command line operations
Deployment Steps
1. Create PostgreSQL Database
First, create a PostgreSQL database instance that will be used by your Laravel application:
fly postgres create
Important: Take note of the database credentials provided after creation. You’ll need these for the environment configuration.
2. Clone the Laratine Template
Clone the Laratine repository and navigate to the project directory:
git clone https://github.com/itamarack/laratine
cd laratine
3. Configure Fly.toml
Initialize your Fly.io configuration without deploying:
fly launch
When prompted, choose not to deploy immediately. Instead, update the generated fly.toml file with your PostgreSQL credentials. Add the following configuration under the [env] section:
[env]
  APP_ENV = 'production'
  LOG_CHANNEL = 'stderr'
  LOG_LEVEL = 'info'
  LOG_STDERR_FORMATTER = 'Monolog\Formatter\JsonFormatter'
  SESSION_DRIVER = 'cookie'
  SESSION_SECURE_COOKIE = 'true'
  DB_CONNECTION = 'pgsql'
  DB_HOST = 'devpostgres.internal'
  DB_PORT = 5433
  DB_DATABASE = 'postgres'
  DB_USERNAME = 'postgres'
  DB_PASSWORD = 'your_password'
Note: The default PostgreSQL database name is postgres. Use this value for DB_DATABASE unless you’ve specifically created a different database.
4. Deploy the Application
Deploy your application using:
fly deploy
Follow the prompts, accepting the default options unless you have specific configuration requirements.
5. Run Migrations and Seeders
After successful deployment, connect to your application instance and run migrations and seeders:
fly ssh console
Once connected, execute:
php artisan migrate
php artisan db:seed
6. Verify Deployment
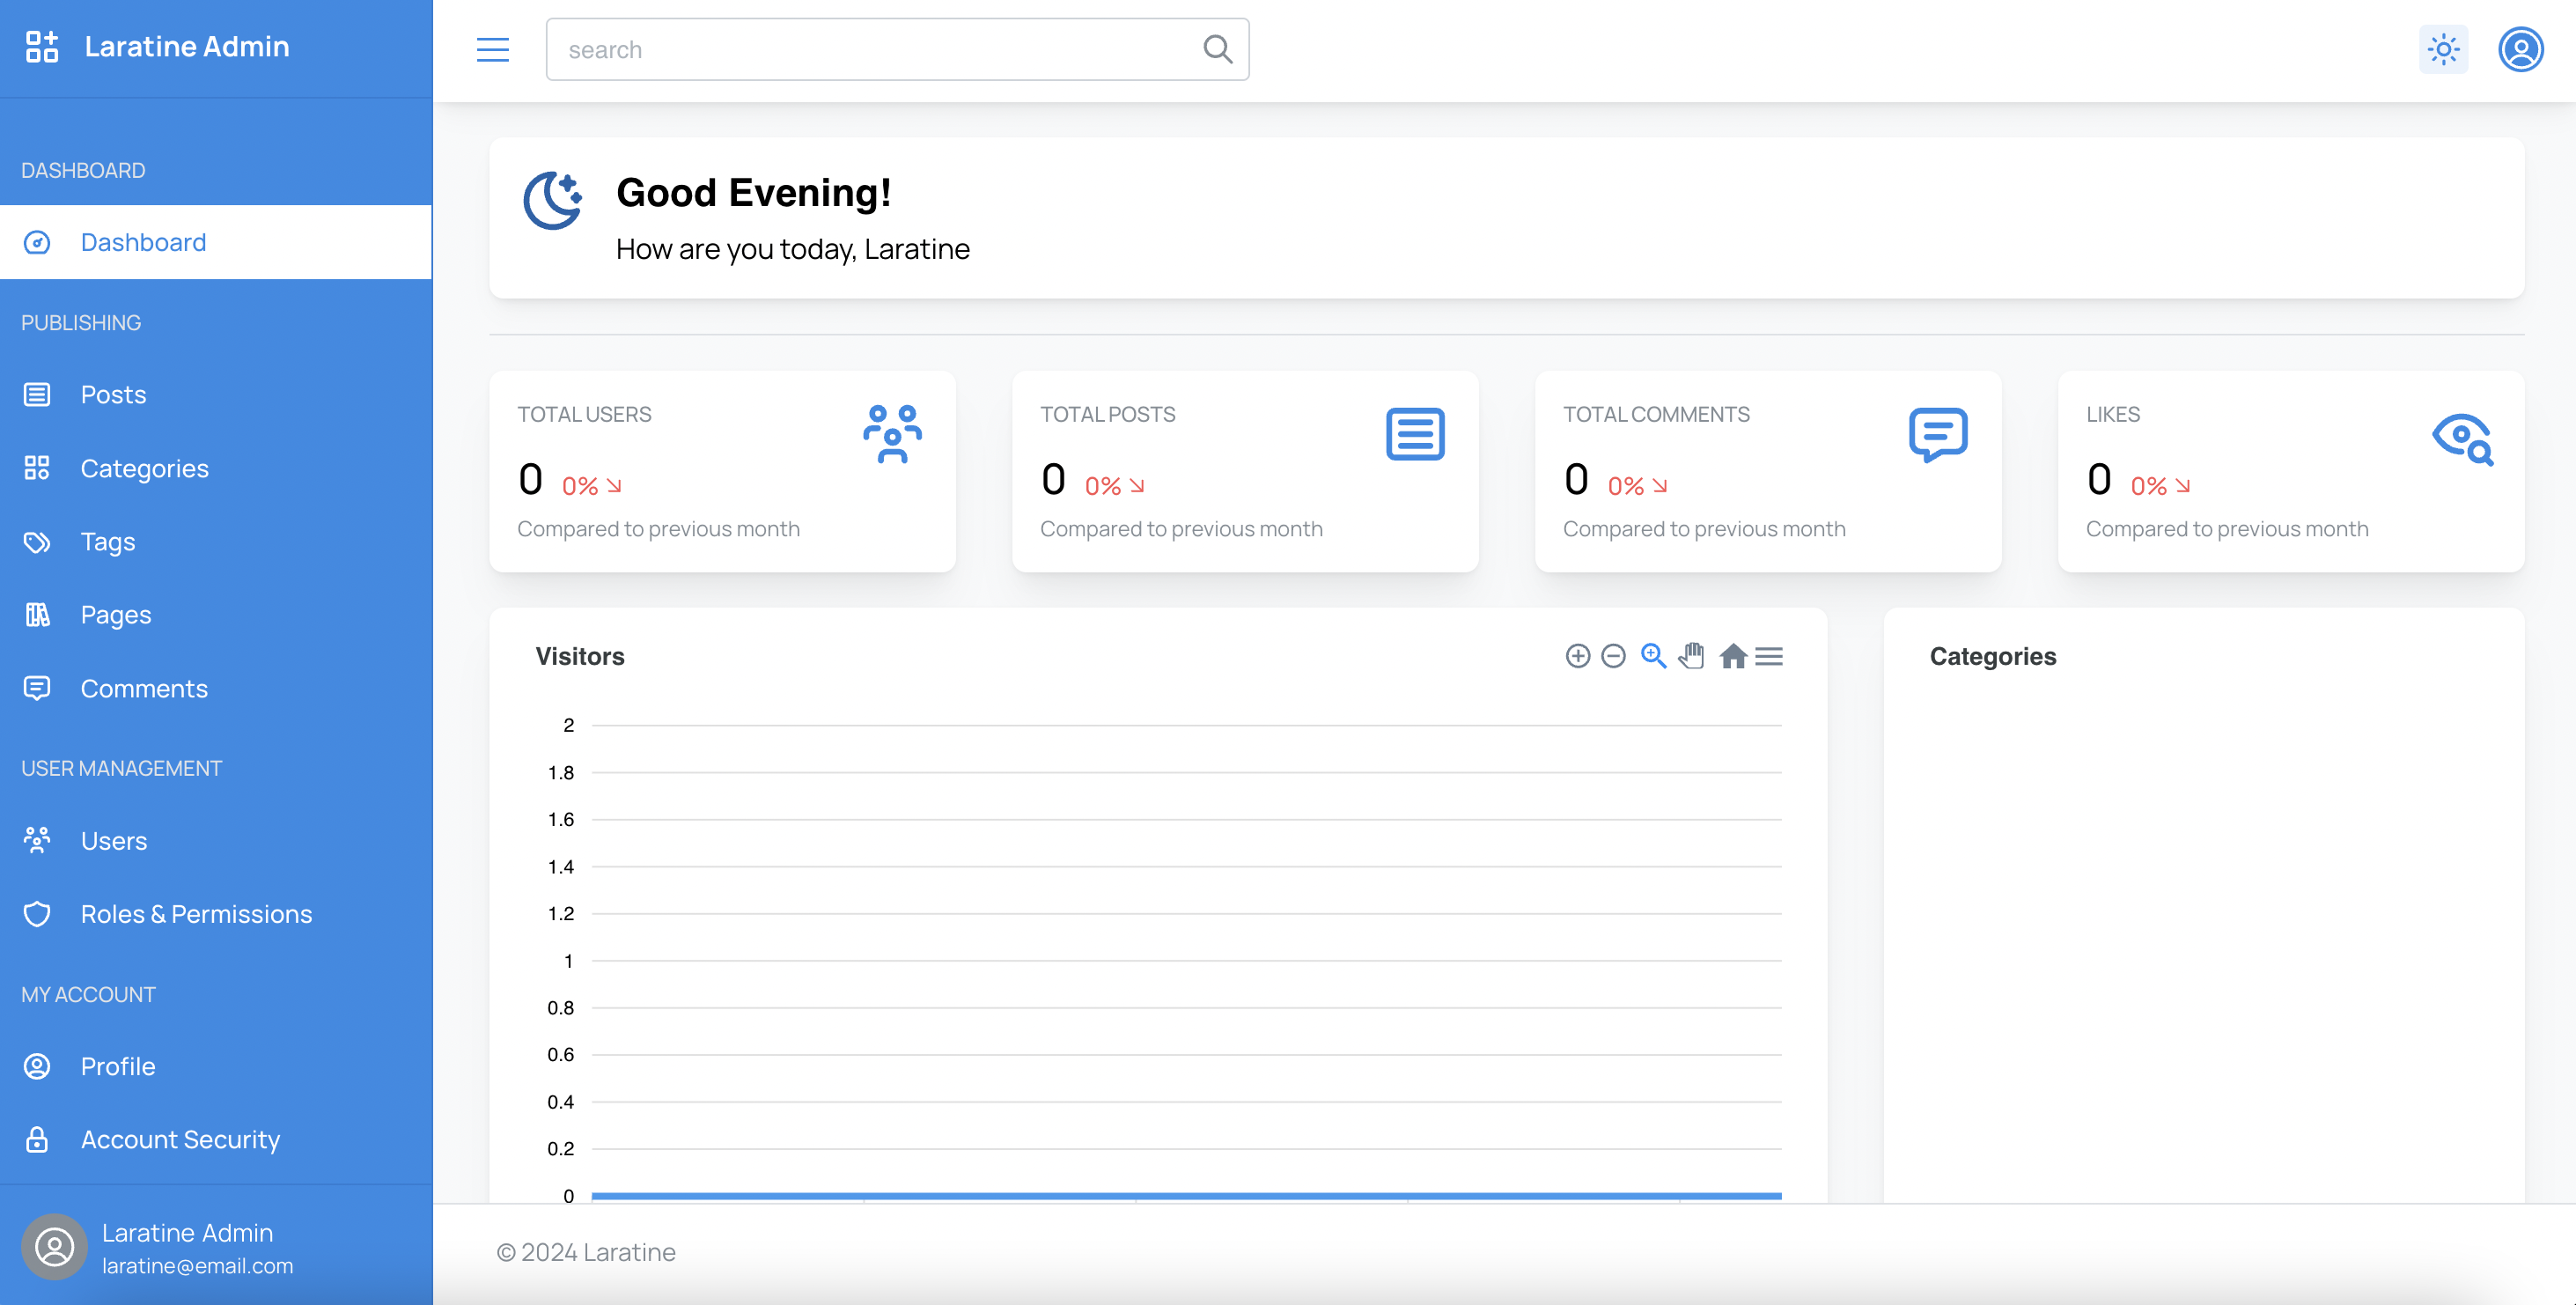
Access your deployed application using the URL provided by Fly.io (typically https://your-app-name.fly.dev).
Troubleshooting
If you encounter issues:
- Verify your PostgreSQL credentials in the
fly.tomlfile - Check the application logs using
fly logs - Ensure all environment variables are properly set
- Confirm that the database migration completed successfully
Conclusion
You now have a fully deployed Laratine application running on Fly.io. This setup provides a solid foundation for rapid development, combining Laravel’s backend capabilities with React’s frontend flexibility.
For more information about Fly.io features and configuration options, visit their official documentation.